Caching is very import technique to improve performance on inquiry. Especially, if you are working with a heavy query that need to join many tables or to retrieve huge amount of the data from the database. Without caching, every single time that data query is executed, disk access happened. This is not a practical manner to handle data inquiry and lead to poor system performance. Accessing data without fetching data directly from the disk could increase data inquiring speed dramatically. Caching inquiry result in the memory and reuse that data is very common practice once it come to handle heavy query or huge amount of data.
Hibernate provides implementation of JPA. It provides first level cache, second level cache and query cache. For the first level cache, it is enable by default. In this post, I will demonstrate how to enable second level cache in both JPA and Hibernate with Wildfly.
JPA with Second Level Cache
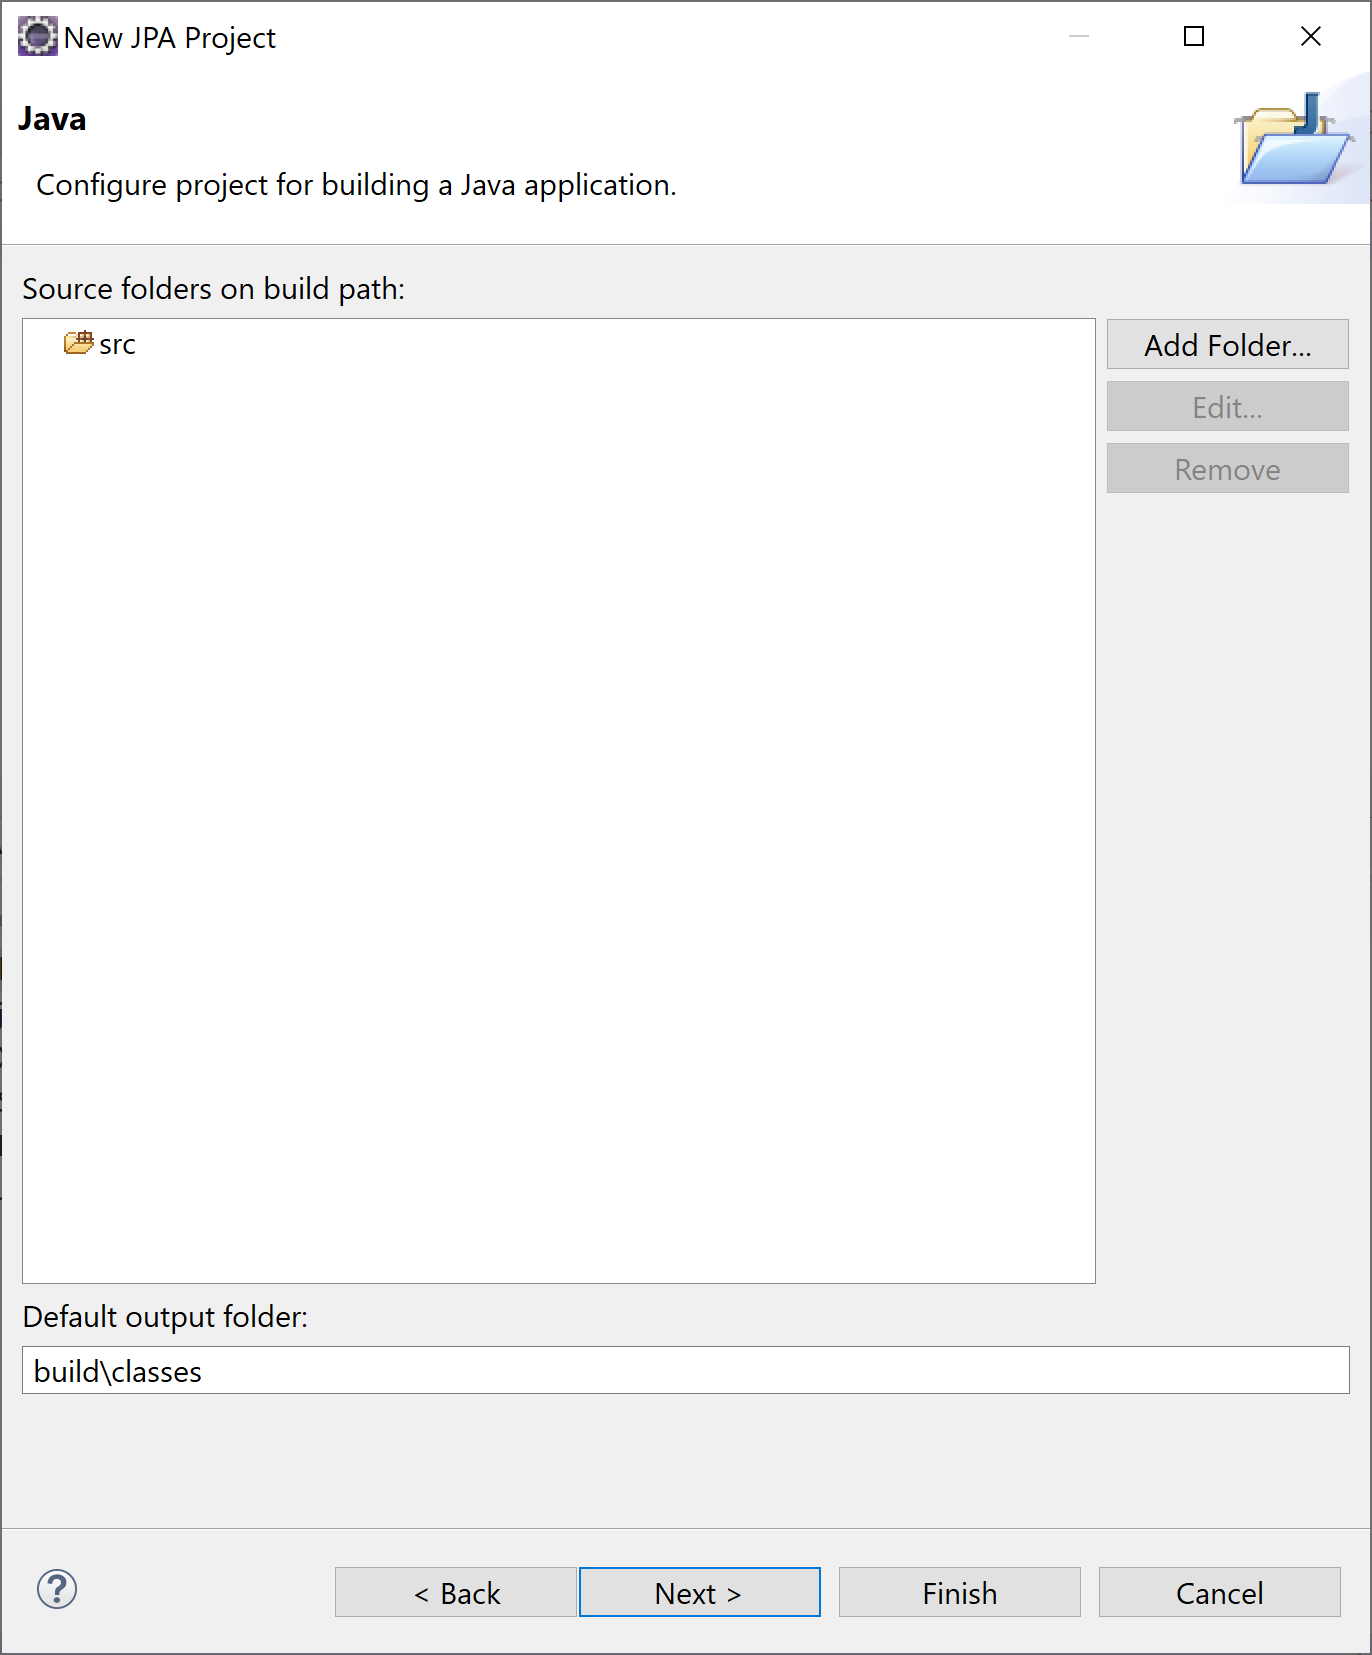
JPA provide second level cache but not by default, you need to enable it through persistence.xml. First, you have to create JPA project

|
|
Fig 01. Create JPA Project 01 |

|
|
Fig 02. Create JPA Project 02 |

|
|
Fig 03. Create JPA Project 03 |
|
|
Fig 04. Create JPA Project - 04 |

|
|
Fig 05 Create JP Project 05 |
Create JPA Class from Table as below.

|
|
Fig 06 Create JPA Class |
      package pro.itstikk.jpa.entity;


        import java.io.Serializable;


        import javax.persistence.Cacheable;


        import javax.persistence.Entity;


        import javax.persistence.Id;


        import javax.persistence.NamedQuery;


        import javax.persistence.Table;


        /**


         * The persistent class for the stafftbl database table.


         *


         */


        @Entity


        @Table(name="stafftbl")


        @Cacheable


        @NamedQuery(name="Staff.findAll", query="SELECT s FROM Staff
            s")


        public class Staff implements Serializable {


         private static final long
          serialVersionUID = 1L;


         @Id


         private String staffid;


         private String
          firstname;


         private String
          lastname;


         public Staff() {
          super();


         }


         public String getStaffid()
          {


             return this.staffid;


         }


         public void setStaffid(String
          staffid) {


             this.staffid = staffid;


         }


         public String getFirstname()
          {


             return this.firstname;


         }


         public void
          setFirstname(String firstname) {


             this.firstname =
          firstname;


         }


         public String getLastname()
          {


             return this.lastname;


         }


         public void
          setLastname(String lastname) {


             this.lastname =
          lastname;


         }


        }
Next is to configure persistence.xml
        <?xml version="1.0" encoding="UTF-8"?>


        <persistence version="2.1"
            xmlns="http://xmlns.jcp.org/xml/ns/persistence"
            xmlns:xsi="http://www.w3.org/2001/XMLSchema-instance"
            xsi:schemaLocation="http://xmlns.jcp.org/xml/ns/persistence
            http://xmlns.jcp.org/xml/ns/persistence/persistence_2_1.xsd">


         <persistence-unit
          name="java-ee-02-jpa-ehcache" transaction-type="JTA">


         <provider>org.hibernate.jpa.HibernatePersistenceProvider</provider>


         <jta-data-source>java:/sampledbs</jta-data-source>


         <mapping-file>META-INF/orm.xml</mapping-file>


         <class>pro.itstikk.jpa.entity.Staff</class>


         <shared-cache-mode>ALL</shared-cache-mode>


         <properties>


             <property
          name="hibernate.dialect"
          value="org.hibernate.dialect.PostgreSQLDialect"/>


             <property
          name="hibernate.connection.driver_class"
          value="org.postgresql.Driver"/>


             <property
            name="hibernate.show_sql" value="true"/>
           <property name="hibernate.format_sql" value="true"/>

             <property
          name="hibernate.cache.use_second_level_cache" value="true" />


             <property
            name="hibernate.cache.use_query_cache" value="true" />

             <property
            name="hibernate.generate_statistics" value="true" />


         </properties>


         </persistence-unit>


        </persistence>
For orm.xml is mapping file. I have create as below.
        <?xml version="1.0" encoding="UTF-8"?>


        <entity-mappings


            xmlns="http://java.sun.com/xml/ns/persistence/orm"


            xmlns:xsi="http://www.w3.org/2001/XMLSchema-instance"


            xsi:schemaLocation="http://java.sun.com/xml/ns/persistence/orm


            http://java.sun.com/xml/ns/persistence/orm_2_0.xsd"


            version="2.0">


            <named-native-query name="STAFF.SQL.00"
            result-set-mapping="STAFF.MAPPING">


             <query>SELECT * FROM
            stafftbl</query>


            </named-native-query>


            <named-native-query name="STAFF.SQL.01"
            result-set-mapping="STAFF.MAPPING">


             <query>SELECT * FROM
            stafftbl s WHERE s.staffid = :ID</query>


            </named-native-query>


            <sql-result-set-mapping
            name="STAFF.MAPPING">


             <entity-result
            entity-class="pro.itstikk.jpa.entity.Staff">


             <field-result
            name="staffid" column="staffid"/>


             <field-result
            name="firstname" column="firstname"/>


             <field-result
            name="lastname" column="lastname"/>


             </entity-result>


            </sql-result-set-mapping>


        </entity-mappings>
Create EJB Project
To create DAO (Data Access Object), you just need to create EJB project.

|
|
Fig 07. EJB Project Creation |
Create Interface and the interface implementation class.
        package pro.itstikk.dao;


        import java.util.List;


        import javax.ejb.Remote;


        import pro.itstikk.jpa.entity.Staff;


        @Remote


        public interface StaffDao {


         public void save(Staff
          staff);


         public List<Staff>
          getStaffs();


         public List<Staff>
          list();


         public Staff find(String
          id);


        }
For the implementation class is implemented as below.
        package pro.itstikk.dao;


        import java.util.List;


        import javax.ejb.Stateless;


        import javax.persistence.EntityManager;


        import javax.persistence.PersistenceContext;


        import javax.persistence.Query;


        import javax.persistence.TypedQuery;


        import javax.transaction.Transactional;


        import pro.itstikk.jpa.entity.Staff;


        /**


         * Session Bean implementation class StaffDaoImp


         */


        @Stateless


        public class StaffDaoImp implements StaffDao {


         @PersistenceContext(unitName="java-ee-02-jpa-ehcache")


         private EntityManager
          em;


            /**


             * Default constructor.


             */


            public StaffDaoImp() {


                super();


            }


         @Override


         public List<Staff>
          getStaffs() {


         TypedQuery<Staff> query
          = em.createNamedQuery("Staff.findAll", Staff.class);


         List<Staff> list =
          query.getResultList();


         return list;


         }


         @Override


         public List<Staff>
          list() {


         Query query =
          em.createNamedQuery("STAFF.SQL.00");


         return
          query.getResultList();


         }


         @Override


         public Staff find(String id)
          {


         Query query =
          em.createNamedQuery("STAFF.SQL.01");


         query.setParameter("ID",
          id);


         return (Staff)
          query.getSingleResult();


         }


         @Transactional


         @Override


         public void save(Staff staff)
          {


         em.persist(staff);


         }


        }
Create Web Dynamic Project
To demonstrate interface to EJB project and CRUD operation, I just create Web Dynamic Project

|
|
Fig 08. Create Dynamic Web Project |
to map xhtml view interface, create managed bean
        package pro.itstikk.bean;


        import java.util.List;


        import javax.annotation.PostConstruct;


        import javax.ejb.EJB;


        import javax.enterprise.context.RequestScoped;


        import javax.inject.Named;


        import pro.itstikk.dao.StaffDao;


        import pro.itstikk.jpa.entity.Staff;


        @Named("staffBean")


        @RequestScoped


        public class StaffBean {


         @EJB


         private StaffDao
          staffDao;


         private List<Staff>
          list;


         private String staffid;


         private Staff staff;


         public StaffBean() {


             super();


         }


         @PostConstruct


         public void init() {


             staff = new Staff();


         }


         public List<Staff>
          save(){


             staffDao.save(staff);


             list = staffDao.list();


             staff = new Staff();


             return list;


         }


         public Staff find(){


             staff =
          staffDao.find(staffid);


             return staff;


         }


         public List<Staff>
          getList() {


             list = staffDao.list();


             return list;


         }


         public void
          setList(List<Staff> list) {


             this.list = list;


         }


         public String getStaffid()
          {


             return staffid;


         }


         public void setStaffid(String
          staffid) {


             this.staffid = staffid;


         }


         public Staff getStaff()
          {


             return staff;


         }


         public void setStaff(Staff
          staff) {


             this.staff = staff;


         }


        }
Here is index.xhtml
        <!DOCTYPE html PUBLIC "-//W3C//DTD XHTML 1.0 Transitional//EN"
            "http://www.w3.org/TR/xhtml1/DTD/xhtml1-transitional.dtd">


        <html xmlns="http://www.w3.org/1999/xhtml"


              xmlns:rich="http://richfaces.org/rich"


            xmlns:ui="http://java.sun.com/jsf/facelets"


              xmlns:f="http://java.sun.com/jsf/core"


              xmlns:a4j="http://richfaces.org/a4j"


            xmlns:h="http://java.sun.com/jsf/html">


        <h:head>


         <title>JPA
          Cache</title>


        </h:head>


        <body>


            <rich:panel>


                <f:facet name="header">


                    Write your own custom rich components
            with built-in AJAX support


                </f:facet>


                <div style="margin: 30px 0
          30px 0;">


                <rich:dataTable var="item"
          value="#{staffBean.list}">


                    <f:facet
          name="header">


                        <rich:columnGroup>


                             <rich:column
          rowspan="1">


                                 <h:outputText
          value="STAFFID" />


                             </rich:column>


                             <rich:column
          rowspan="1">


                                 <h:outputText
          value="FIRSTNAME" />


                             </rich:column>


                             <rich:column
          rowspan="1">


                                 <h:outputText
          value="LASTNAME" />


                             </rich:column>


                       </rich:columnGroup>


                     </f:facet>


                     <rich:column
          rowspan="1">


                         <h:outputText
          value="#{item.staffid}" />


                     </rich:column>


                     <rich:column
          rowspan="1">


                         <h:outputText
          value="#{item.firstname}" />


                     </rich:column>


                     <rich:column
          rowspan="1">


                         <h:outputText
          value="#{item.lastname}" />


                     </rich:column>


               </rich:dataTable>


         </div>


         </rich:panel>


        </body>


        </html>
Create Search Staff Search page and result page search.xhtml
        <!DOCTYPE html>


        <ui:composition xmlns="http://www.w3.org/1999/xhtml"


         xmlns:h="http://java.sun.com/jsf/html"


            xmlns:f="http://java.sun.com/jsf/core"


            xmlns:ui="http://java.sun.com/jsf/facelets"


            xmlns:a4j="http://richfaces.org/a4j"


            xmlns:rich="http://richfaces.org/rich">


        <h:head>


         <title>search</title>


        </h:head>


        <body>


            <rich:panel>


                <f:facet name="header">


                Write your own custom rich components
            with built-in AJAX support


                </f:facet>


                 <h:form
          id="form">


                     <h:outputLabel
          value="STAFF ID:" for="staffid"/>


                     <rich:inplaceInput
          defaultLabel="000" value="#{staffBean.staffid}" id="staffid"
          style="width:100px; margin: 2px 10px 2px 10px;
          text-align:right;"/>


                     <a4j:commandButton
          action="#{staffBean.find()}" execute="@form" value="search"
          render="out" />


                 </h:form>


                 <a4j:outputPanel
          id="out">


                     <rich:panel
          style="margin-top: 10px;">


                     <p>


                         <h:outputLabel
          value="staff id :" for="sid"/>


                         <h:outputText
          value="#{staffBean.staff.staffid}" id="sid"/>


                     </p>


                     <p>


                         <h:outputLabel
          value="firstname :" for="firstname"/>


                         <h:outputText
          value="#{staffBean.staff.firstname}" id="firstname"/>


                     </p>


                     <p>


                         <h:outputLabel
          value="lastname :" for="lastname"/>


                         <h:outputText
          value="#{staffBean.staff.lastname}" id="lastname"/>


                     </p>


                 </rich:panel>


             </a4j:outputPanel>


         </rich:panel>


        </body>


        </ui:composition>
After deploy to Wildlfy, you should see as below result
 |
| Fig 09 List up data |
 |
| Fig 10. Search Data |
No comments:
Post a Comment